Jellycat Birthday Cake with Buttercream Frosting
Highlighted under: Heavy Meal Recipes
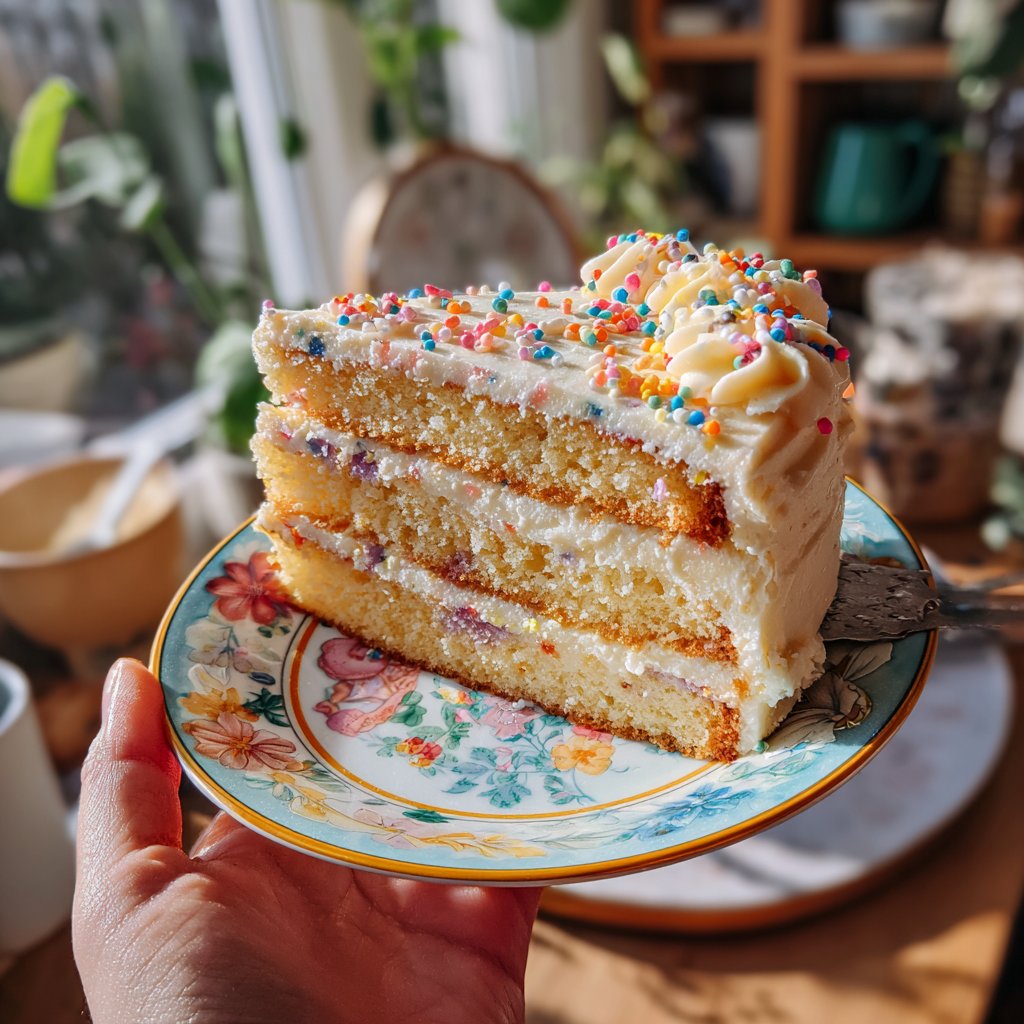
We absolutely adore celebrating special occasions with homemade cakes, and this Jellycat Birthday Cake with Buttercream Frosting is a showstopper! I still remember the first time I designed this cake; the combination of playful design and delicious flavors brought a smile to everyone’s face. The fluffy cake pairs perfectly with the rich buttercream, and I love how easy it is to decorate. Whether it's for a birthday party or any gathering, this cake will definitely make it a memorable treat.
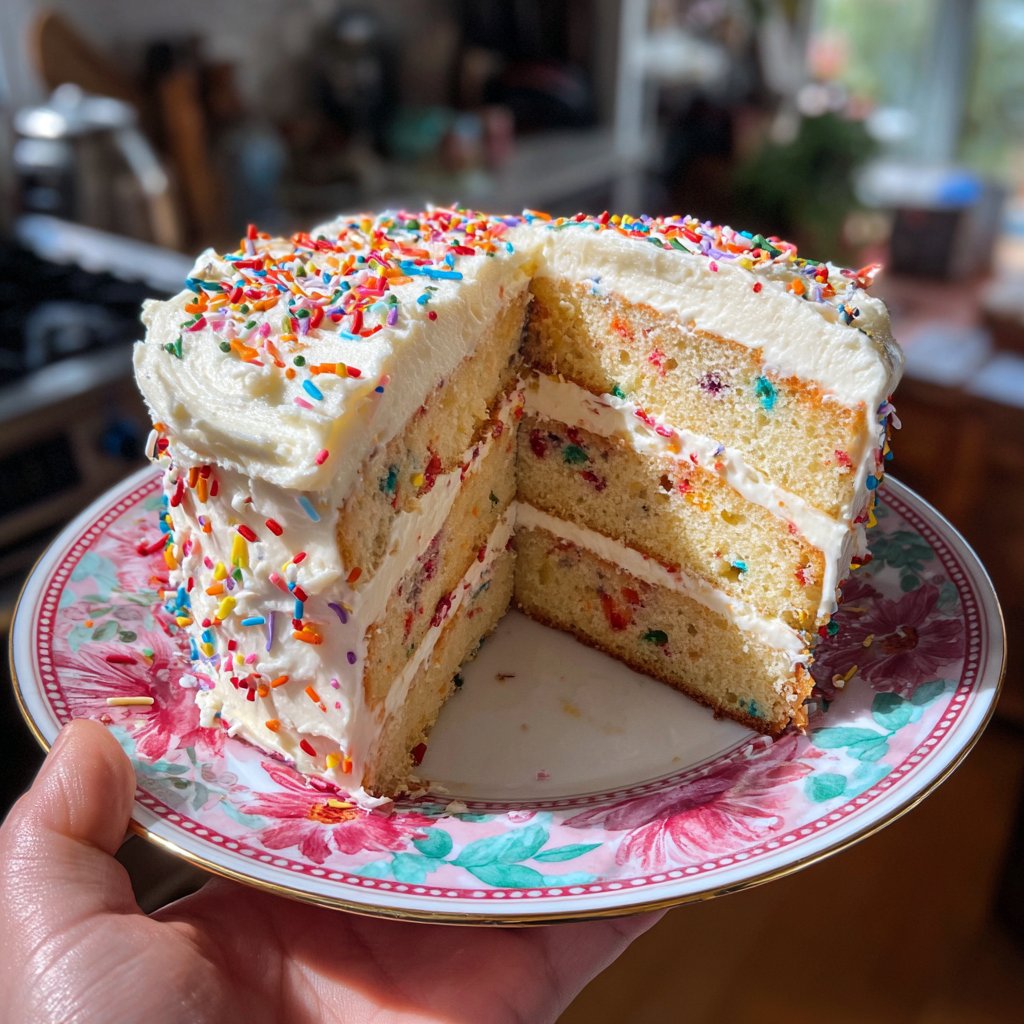
When I first attempted to recreate the beloved Jellycat design into a cake, I knew it had to be special. I experimented with different flavors and textures, ultimately settling on a moist vanilla sponge that complements the sweetness of the buttercream frosting beautifully. I particularly love adding a hint of vanilla bean for an extra touch of luxury.
One of the key tips I learned while making this cake is to ensure your butter is at room temperature before whipping it into the frosting. This creates a creamy consistency that spreads beautifully and holds its shape. Don't skip this step, as it really enhances the overall presentation and taste!
Why You'll Love This Cake
- Rich vanilla flavor that everyone adores
- Whimsical design inspired by Jellycat characters
- Creamy buttercream that perfectly complements the cake's texture
Understanding the Ingredients
The quality of your ingredients can significantly impact the flavor and texture of this Jellycat Birthday Cake. Using fresh large eggs provides moisture and structure, while ensuring the butter is at room temperature allows for better emulsification. This mix contributes to a light and fluffy cake, perfect for celebrations. Consider using vanilla extract made from real vanilla beans for a more aromatic flavor profile, elevating the overall taste of this delightful cake.
When it comes to your flour choice, all-purpose flour is ideal for maintaining the right balance of lightness and sturdiness. If you need a gluten-free version, you can substitute with a 1:1 gluten-free flour blend, but remember this may slightly alter the texture. The same goes for the milk; using whole milk yields a richer cake, while non-dairy milk alternatives can be utilized for a vegan option—just ensure they are unsweetened to keep the balance of flavors.
Perfecting the Buttercream
Buttercream can be a tricky frosting to master, but achieving the right consistency is key. When preparing this rich buttercream, make sure your butter is soft enough to blend smoothly but not melted. Aim for a creamy texture that holds its shape; if it’s too soft, refrigerate for a few minutes. Conversely, if your buttercream is too stiff, add an extra splash of milk, one teaspoon at a time, until it reaches the ideal spreadable consistency.
Coloring your buttercream is optional, but it can add a fun touch to your cake. Gel food coloring is preferred over liquid, as it allows for more vibrant hues without altering the frosting's texture. When you're decorating, I find using an offset spatula gives you more control. Apply the frosting in a smooth layer, then swirl, stripe, or create fun patterns with the spatula or a piping bag for that whimsical Jellycat finish.
Ingredients
For the Cake
- 2 cups all-purpose flour
- 1 ½ cups granulated sugar
- ½ cup unsalted butter, softened
- 1 cup milk
- 3 ½ teaspoons baking powder
- 1 teaspoon vanilla extract
- ½ teaspoon salt
- 4 large eggs
For the Buttercream Frosting
- 1 cup unsalted butter, softened
- 4 cups powdered sugar
- ¼ cup milk
- 2 teaspoons vanilla extract
- Food coloring (optional)
Instructions
Instructions
Preparation Steps
Prepare the Cake Batter
Preheat your oven to 350°F (175°C). In a large bowl, cream together the softened butter and sugar until light and fluffy. Beat in the eggs one at a time, then stir in the vanilla extract. In another bowl, mix together the flour, baking powder, and salt. Gradually add the dry ingredients to the wet mixture, alternating with the milk, until fully combined.
Bake the Cake
Divide the batter evenly between two greased 9-inch round cake pans. Smooth the tops with a spatula and bake for 25 minutes or until a toothpick inserted into the center comes out clean. Remove from the oven and let cool in the pans for 10 minutes before transferring to wire racks to cool completely.
Make the Buttercream Frosting
While the cake cools, prepare the buttercream frosting. In a medium mixing bowl, beat the softened butter until creamy. Gradually add in the powdered sugar and beat until well-combined. Pour in the milk and vanilla extract and mix until fluffy and spreadable. If desired, add food coloring to achieve your desired shade.
Assemble and Decorate the Cake
Once the cake layers are completely cool, place one layer on a serving plate and spread a layer of buttercream on top. Add the second layer and cover the entire cake with a thin layer of frosting to create a crumb coat. Refrigerate for 30 minutes, then apply a final layer of frosting and decorate it as desired!
Enjoy Your Cake!
Pro Tips
- For a more vibrant color, mix in gel food coloring gradually until you get your desired shade. To achieve clean edges while frosting, use a bench scraper or a spatula to smooth the buttercream.
Timing and Storage Tips
Timing your baking is crucial. Make sure to check your cake at the 25-minute mark and do the toothpick test. If it comes out clean, your cake is ready; if not, continue baking for an additional 3-5 minutes while keeping an eye on it. Once cooled, the cake can be stored at room temperature covered with plastic wrap for up to three days, ensuring it remains moist and fresh for your celebration.
If you want to prepare the cake in advance, you can freeze the layers after they've cooled completely. Wrap each layer tightly in plastic wrap followed by aluminum foil. They can be frozen for up to three months. When you're ready to serve, thaw them in the refrigerator overnight before frosting and decorating to maintain their texture.
Creative Variations and Serving Ideas
While this Jellycat Birthday Cake is a delightful treat on its own, consider adding a layer of fruit or jam between the cake layers for a burst of flavor. Fresh berries or a layer of lemon curd can add a refreshing dimension that balances the richness of the buttercream. You might also try adding a dash of almond extract to the batter for a unique twist on flavor.
For a fun party experience, consider making mini versions of this cake in muffin tins or small ramekins. They are perfect for little hands and can be decorated individually, allowing kids to choose their own colors and toppings. This way, everyone can enjoy their own personalized Jellycat treat at the celebration!
Questions About Recipes
→ Can I use a different flavor for the cake?
Absolutely! You can substitute vanilla for chocolate, lemon, or any flavor extract you prefer.
→ How should I store the cake?
Store the cake in an airtight container in the refrigerator for up to 3 days, or freeze for longer storage.
→ Can I make the frosting in advance?
Yes, you can make the buttercream frosting ahead of time and store it in the fridge for up to one week. Just re-whip before using.
→ What can I use instead of eggs?
For an egg substitute, you can use flaxseed meal or applesauce; typically, 1/4 cup of applesauce is equivalent to one egg.
Jellycat Birthday Cake with Buttercream Frosting
Created by: The Yumandstir Team
Recipe Type: Heavy Meal Recipes
Skill Level: Intermediate
Final Quantity: 12 servings
What You'll Need
For the Cake
- 2 cups all-purpose flour
- 1 ½ cups granulated sugar
- ½ cup unsalted butter, softened
- 1 cup milk
- 3 ½ teaspoons baking powder
- 1 teaspoon vanilla extract
- ½ teaspoon salt
- 4 large eggs
For the Buttercream Frosting
- 1 cup unsalted butter, softened
- 4 cups powdered sugar
- ¼ cup milk
- 2 teaspoons vanilla extract
- Food coloring (optional)
How-To Steps
Preheat your oven to 350°F (175°C). In a large bowl, cream together the softened butter and sugar until light and fluffy. Beat in the eggs one at a time, then stir in the vanilla extract. In another bowl, mix together the flour, baking powder, and salt. Gradually add the dry ingredients to the wet mixture, alternating with the milk, until fully combined.
Divide the batter evenly between two greased 9-inch round cake pans. Smooth the tops with a spatula and bake for 25 minutes or until a toothpick inserted into the center comes out clean. Remove from the oven and let cool in the pans for 10 minutes before transferring to wire racks to cool completely.
While the cake cools, prepare the buttercream frosting. In a medium mixing bowl, beat the softened butter until creamy. Gradually add in the powdered sugar and beat until well-combined. Pour in the milk and vanilla extract and mix until fluffy and spreadable. If desired, add food coloring to achieve your desired shade.
Once the cake layers are completely cool, place one layer on a serving plate and spread a layer of buttercream on top. Add the second layer and cover the entire cake with a thin layer of frosting to create a crumb coat. Refrigerate for 30 minutes, then apply a final layer of frosting and decorate it as desired!
Extra Tips
- For a more vibrant color, mix in gel food coloring gradually until you get your desired shade. To achieve clean edges while frosting, use a bench scraper or a spatula to smooth the buttercream.
Nutritional Breakdown (Per Serving)
- Calories: 380 kcal
- Total Fat: 26g
- Saturated Fat: 15g
- Cholesterol: 195mg
- Sodium: 85mg
- Total Carbohydrates: 32g
- Dietary Fiber: 3g
- Sugars: 24g
- Protein: 6g